Let's talk about some of the hardware.
-Raspberry Pi
The heart of the system is a Raspberry Pi. It is a SOC (system on a chip) computer running a version of Linux called Raspbian (Debian). These sell for $35 and are highly supported by both the manufacturer and a large, great group of developers all over the world. This computer sits under a shelf near my satellite internet modem and wifi router just doing its thing.
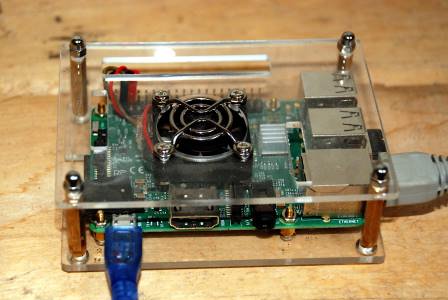
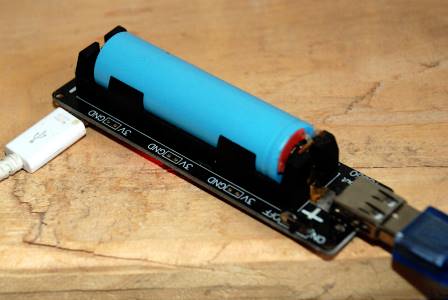
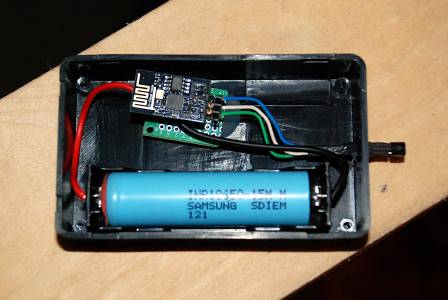
I added a fan and wrote a simple script to run it when the CPU temp exceeds 45 degrees C. It also has a very cheap UPS attached using a single 18650 Li-Ion cell and boost converter so that if/when the power goes out, the computer will continue to work and won't have a hard shutdown which tends to kill the hard drive on these computers. By the way, the "hard drive" is just a micro SD card.
UPS:
Since the hard drive is an SD card and they don't like lots of write cycles, I store my databases on a flash drive plugged into the Pi. The USB drive may die eventually but I have a full database backup stored on this website so there isn't a problem there.
This computer runs its own wifi network for the other hardware to connect to and then connects to the internet through the wired ethernet connection.
Microcontrollers
-ESP8266
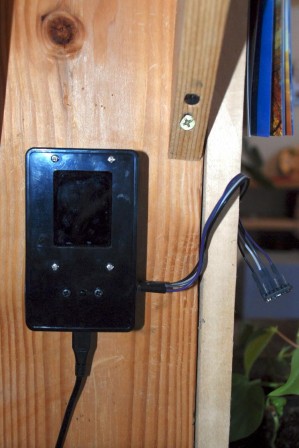
An ESP8266 is a wifi-enabled microcontroller. What is a microcontroller? It's a simple computer that doesn't run an operating system, it just runs a script (program) over and over. The ESP8266 is special because it has wifi built in. This makes integrating the microcontroller into the internet easy. Microcontrollers have IO pins (input/output) that allow you to connect sensors, switches, lights, other microcontrollers, cameras, etc. to them. In my setup, I have used the ESP8266 in two separate locations. One location it is attached to a group of sensors used to measure my solar production. The other location is used to collect atmospheric data downstairs and display all home data on a small screen.
Here's a picture of the home display/downstairs atmospheric sensor:
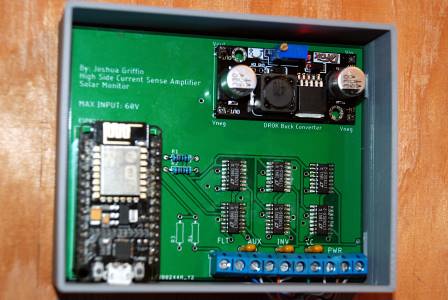
My favorite and most time intensive part of this entire system is the solar monitor circuit. It uses six LTC4151 current sense amplifier ICs to measure current flowing across three separate shunts. The ICs are controlled by an ESP8266; it tells them when to take a measurement, calculates lots of different values off those measurements, then uploads them to the Pi. Some of the values I calculate are the state of charge of my batteries as well as daily usage of power.
I designed the system and ordered circuit boards I designed from scratch. This was a big step for me as I had never designed anything this complex before.
-ESP-01
The ESP-01 is a wifi enabled microcontroller much like the ESP8266 except it has much fewer pins and tends to be harder to program. The benefits are that it usually uses less power and space which makes it great for mobile and compact applications. I have two of these connected to temperature sensors upstairs and outside. I use a single Li-Ion cell to power each ESP-01 and the battery will last about six months.
These are all the bits of hardware I use to run the home monitoring system and updload data to this website. There are lots of tutorials on the ESP8266, ESP-01, Raspberry Pi. If you have a drive to learn and experiment, you can learn how to design these systems too. Feel free to ask questions.
Part 3 will be a software explanation...